Time tracking set up, clocking in and out of shop time, and individual files
CONTENTS:
SETUP
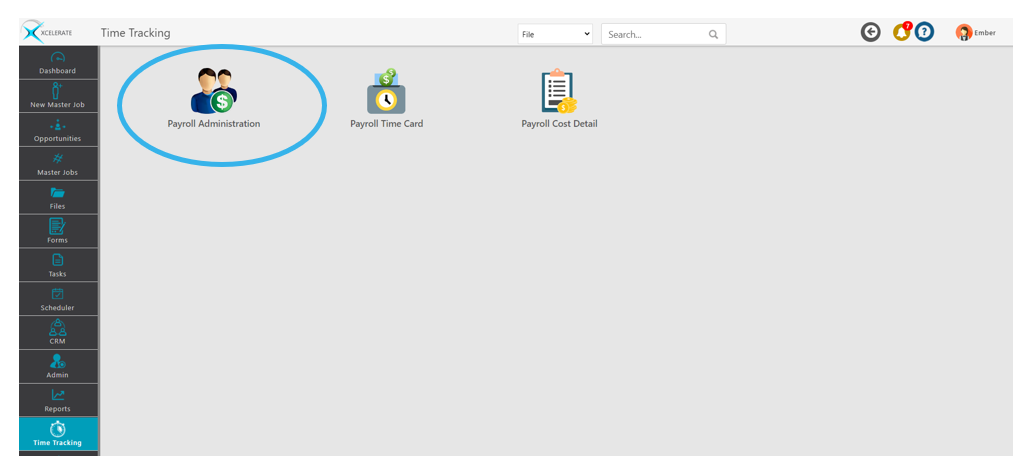
To initiate time tracking initial setup is required. This is completed within the online platform under Time Tracking>Payroll Administration.
Reach out to your onsite administrator or Xcelerate Support if you need access to Time Tracking Administration

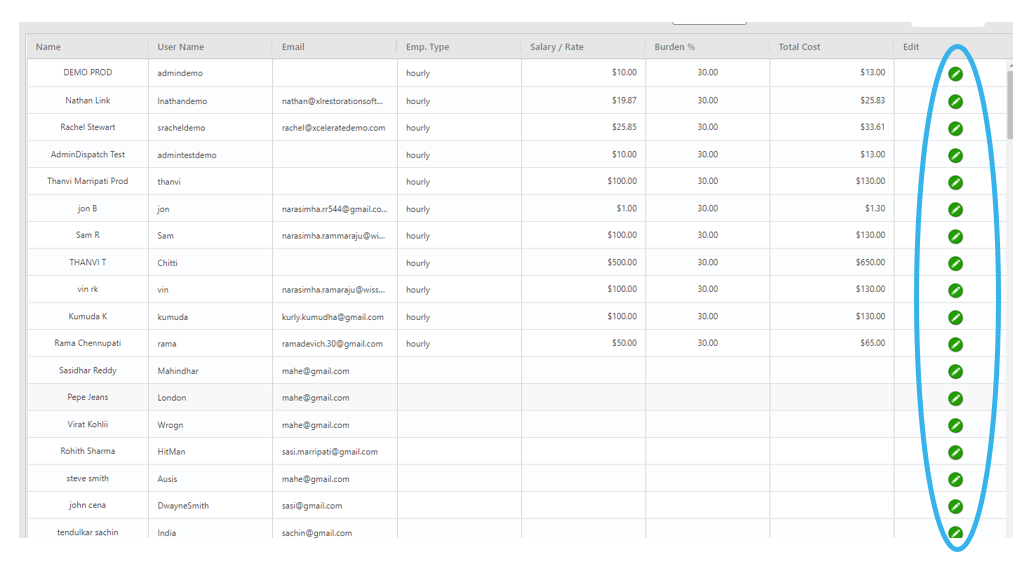
An hourly rate must be set for the user to initiate time tracking. Click on the green pencil Icon next to the user you would like to set up.

Enter the employee type – Hourly/Salary, Burden % (overhead i.e. 20%) and the hourly rate. You can also select if the user is Eligible for OT and hit update.

This user will now be able to track time within the mobile app.
CLOCKING IN & OUT – SHOP TIME
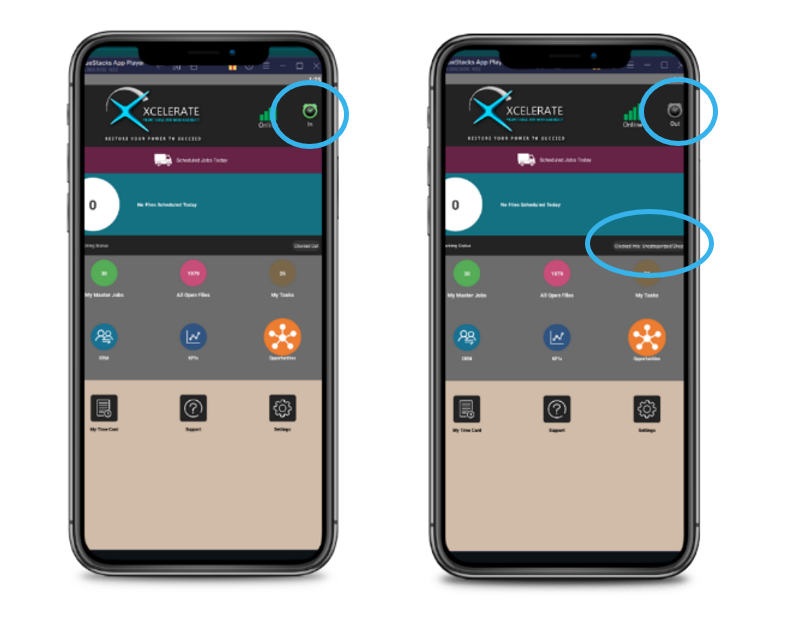
Clocking in and out can be completed in the top right corner of the mobile app and the status can be viewed within the dashboard. By default, the user will be clocked into shop time.

CLOCKING IN & OUT – FILES
Clocking in and out of jobs is imperative to tracking accurate job costing. Once clocked in for the day you can clock into a job either within the “My Schedule” Screen or within the file itself.
My schedule allows for a full view of all jobs assigned to you for the day and you can work in sequential order or arrange as needed. To clock in tap Check In

When work is completed within the first file clocking into the next will automatically check you out of the first file and check you into the second.
Alternatively, you can check into a file within the file view:

Once clocked into a file you can add additional details by tapping on timeclock details if desired or clock out.

When clocked out of a file you will remain clocked in to shop time until clocked out completely by tapping the clock in the top right corner.

If mistakes are made within the time tracking process an administrator onsite can make changes utilizing the Time Tracking Administration portal within Xcelerate.
