Written Walkthrough (Or jump to the GIF walkthrough)
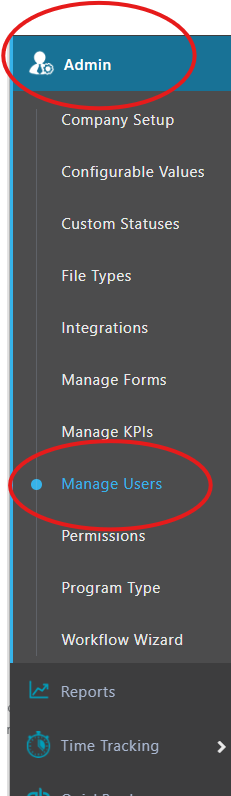
Within the online platform click on Admin then Manage Users
Check to ensure you have available users or licenses
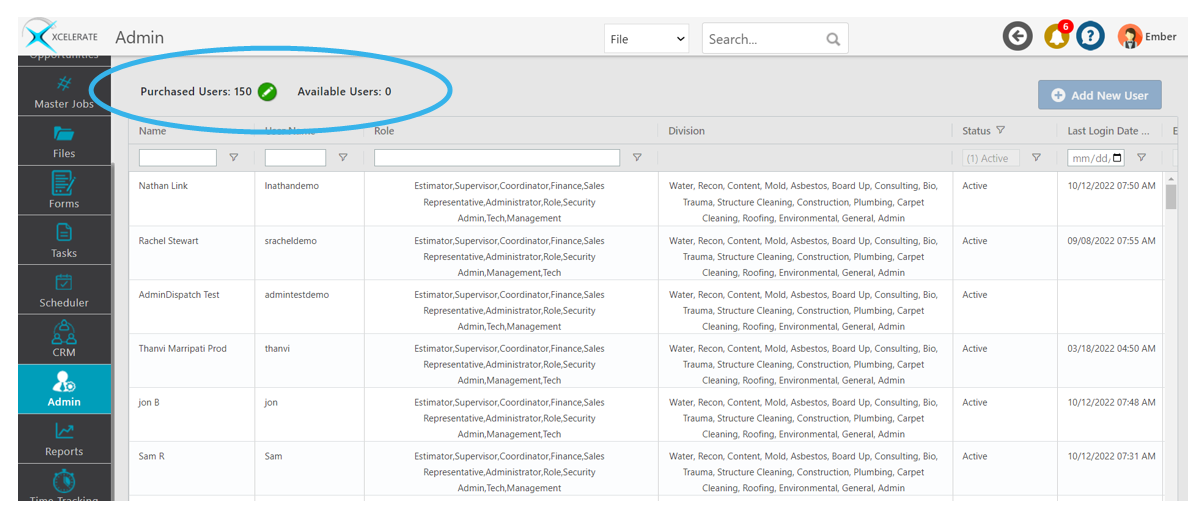
If not, add an additional license by clicking on the green edit button
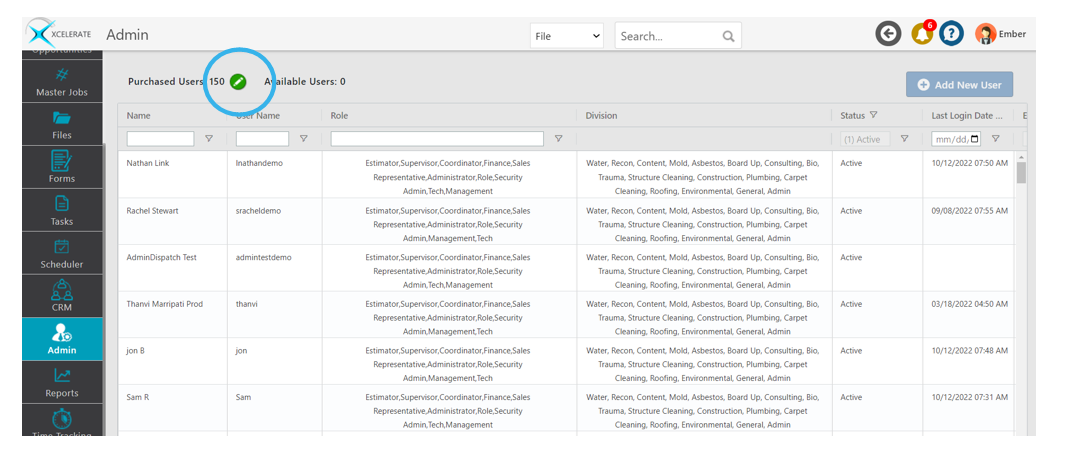
Utilize the drop-down menu to update your number of licenses.

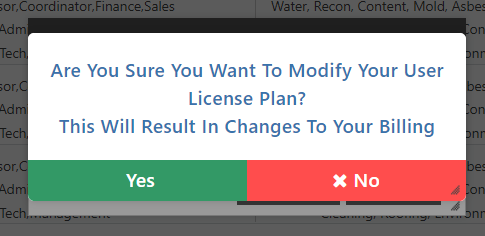
Please Note: Increasing the number of licenses may affect billing.
Click Add New User
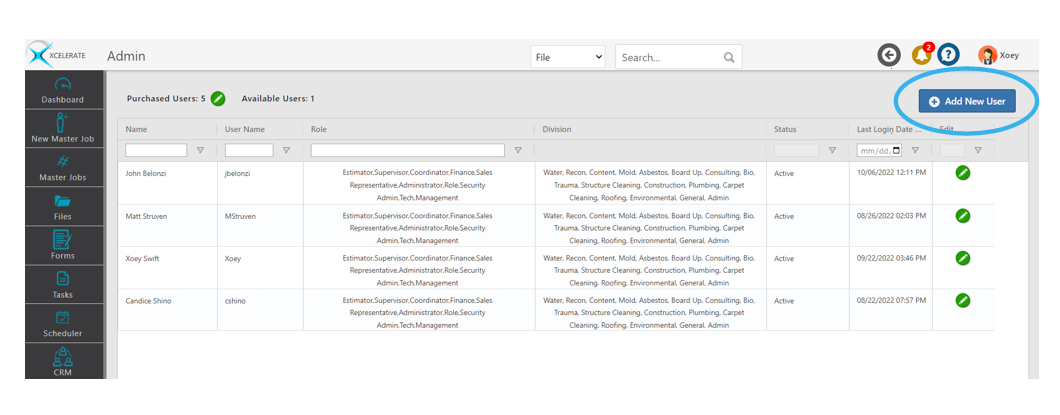
If this is grayed out please add an additional license as outlined above
Complete the New User form completely. All fields with a red asterisk are required
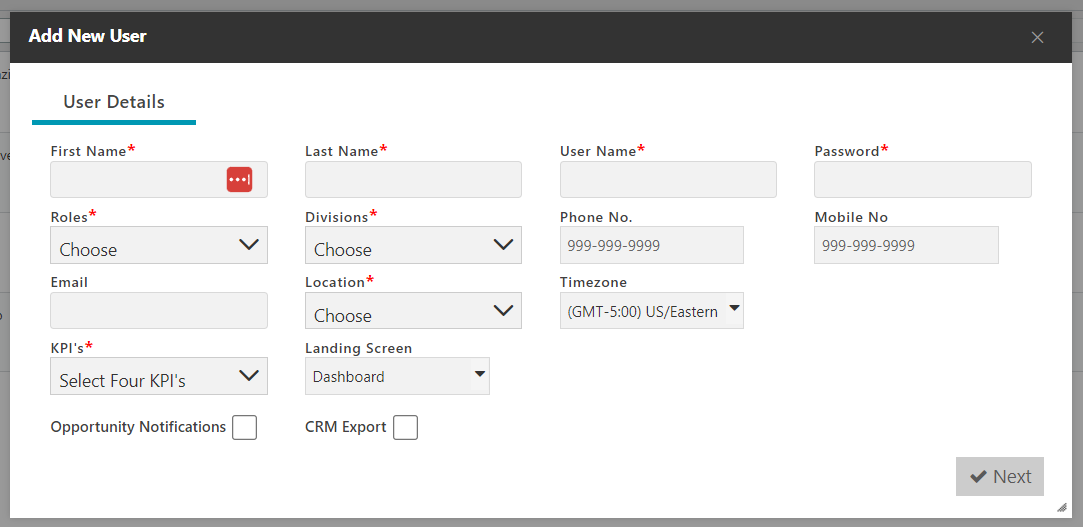
Additional Information:
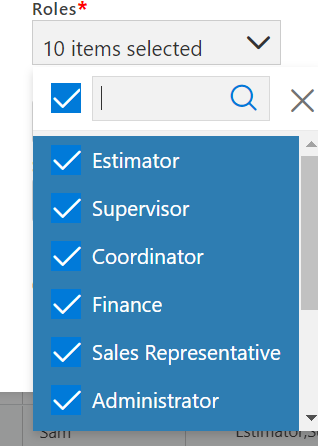
Rolls: This will be the role assigned to the user and correspond to their title and permissions granted to this role. See How to Set User Permissions.
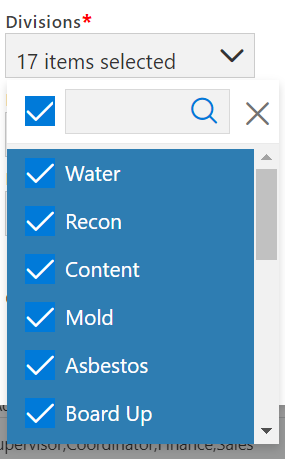
Division: Select the corresponding division as appropriate to the user. If a division is not selected they will not see files for that division.
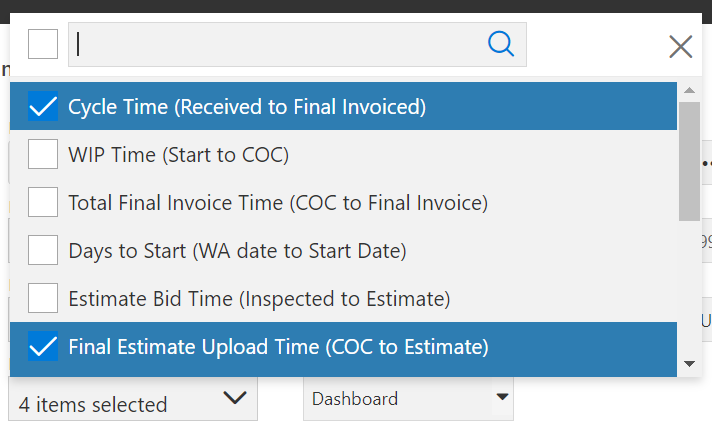
KPIs: These 4 KPIs will appear on the user's dashboard.
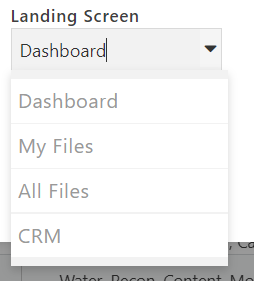
Landing Screen: This will be the screen the user is taken to upon log on.
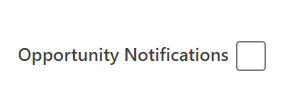
Opportunity Notifications: Check this box to receive notifications for corporate assignments. This option only applies to clients participating in the corporate and franchisee environment.
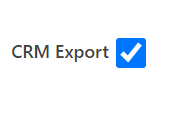
CRM Export: Check to allow users to export CRM contacts.
Click next
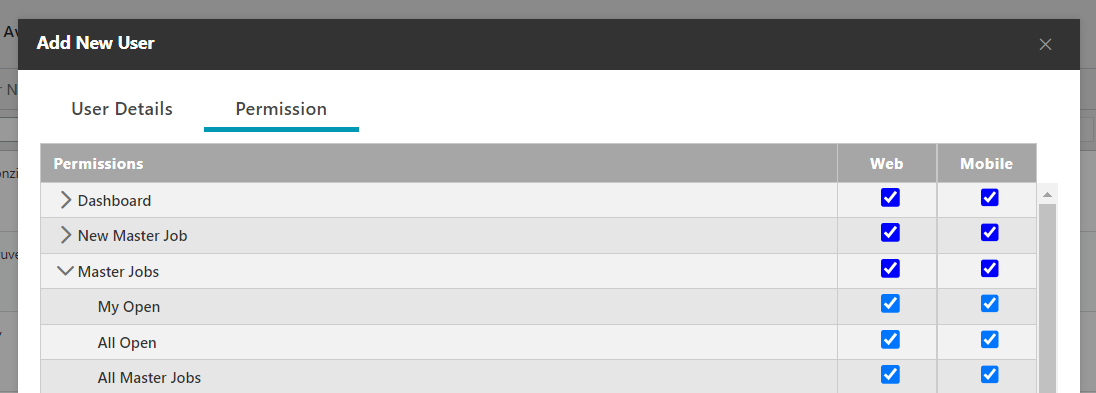
Add and remove permissions as appropriate for the user.
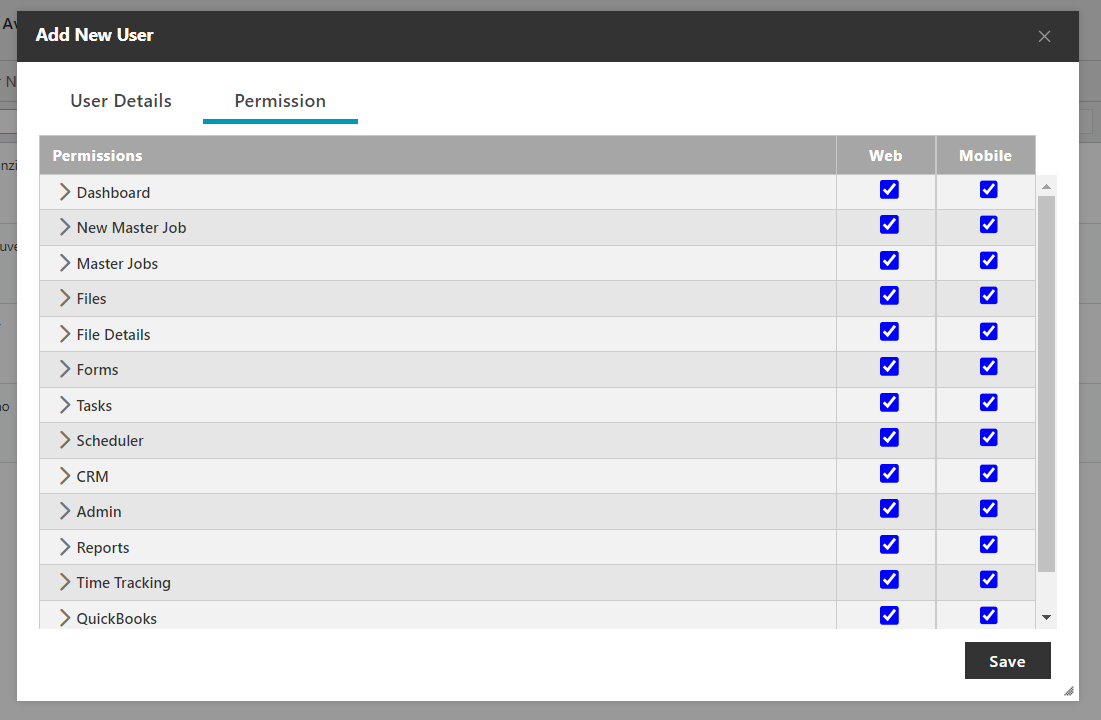
NOTE: Payroll Timecard is required for users to track time on the mobile app.
PLEASE NOTE: Payroll Admin & Payroll Cost Detail may grant access to sensitive information and should be removed for most users
Keep in mind that each section will expand for additional options
Click Save
